Starting a terminal
A terminal window is how you can access the command line. To get started you need to open one! Depending on how you are running this tutorial, there are a few different ways to do this. If you haven't done so already, go and follow the environment setup instructions to get one. You can either
- use a terminal directly (or within Visual Studio Code)
- or use a terminal through a JupyterLab instance.
Opening a terminal on JupyterHub. If you have set up a JupyterLab site, you should see a page that looks something like this:
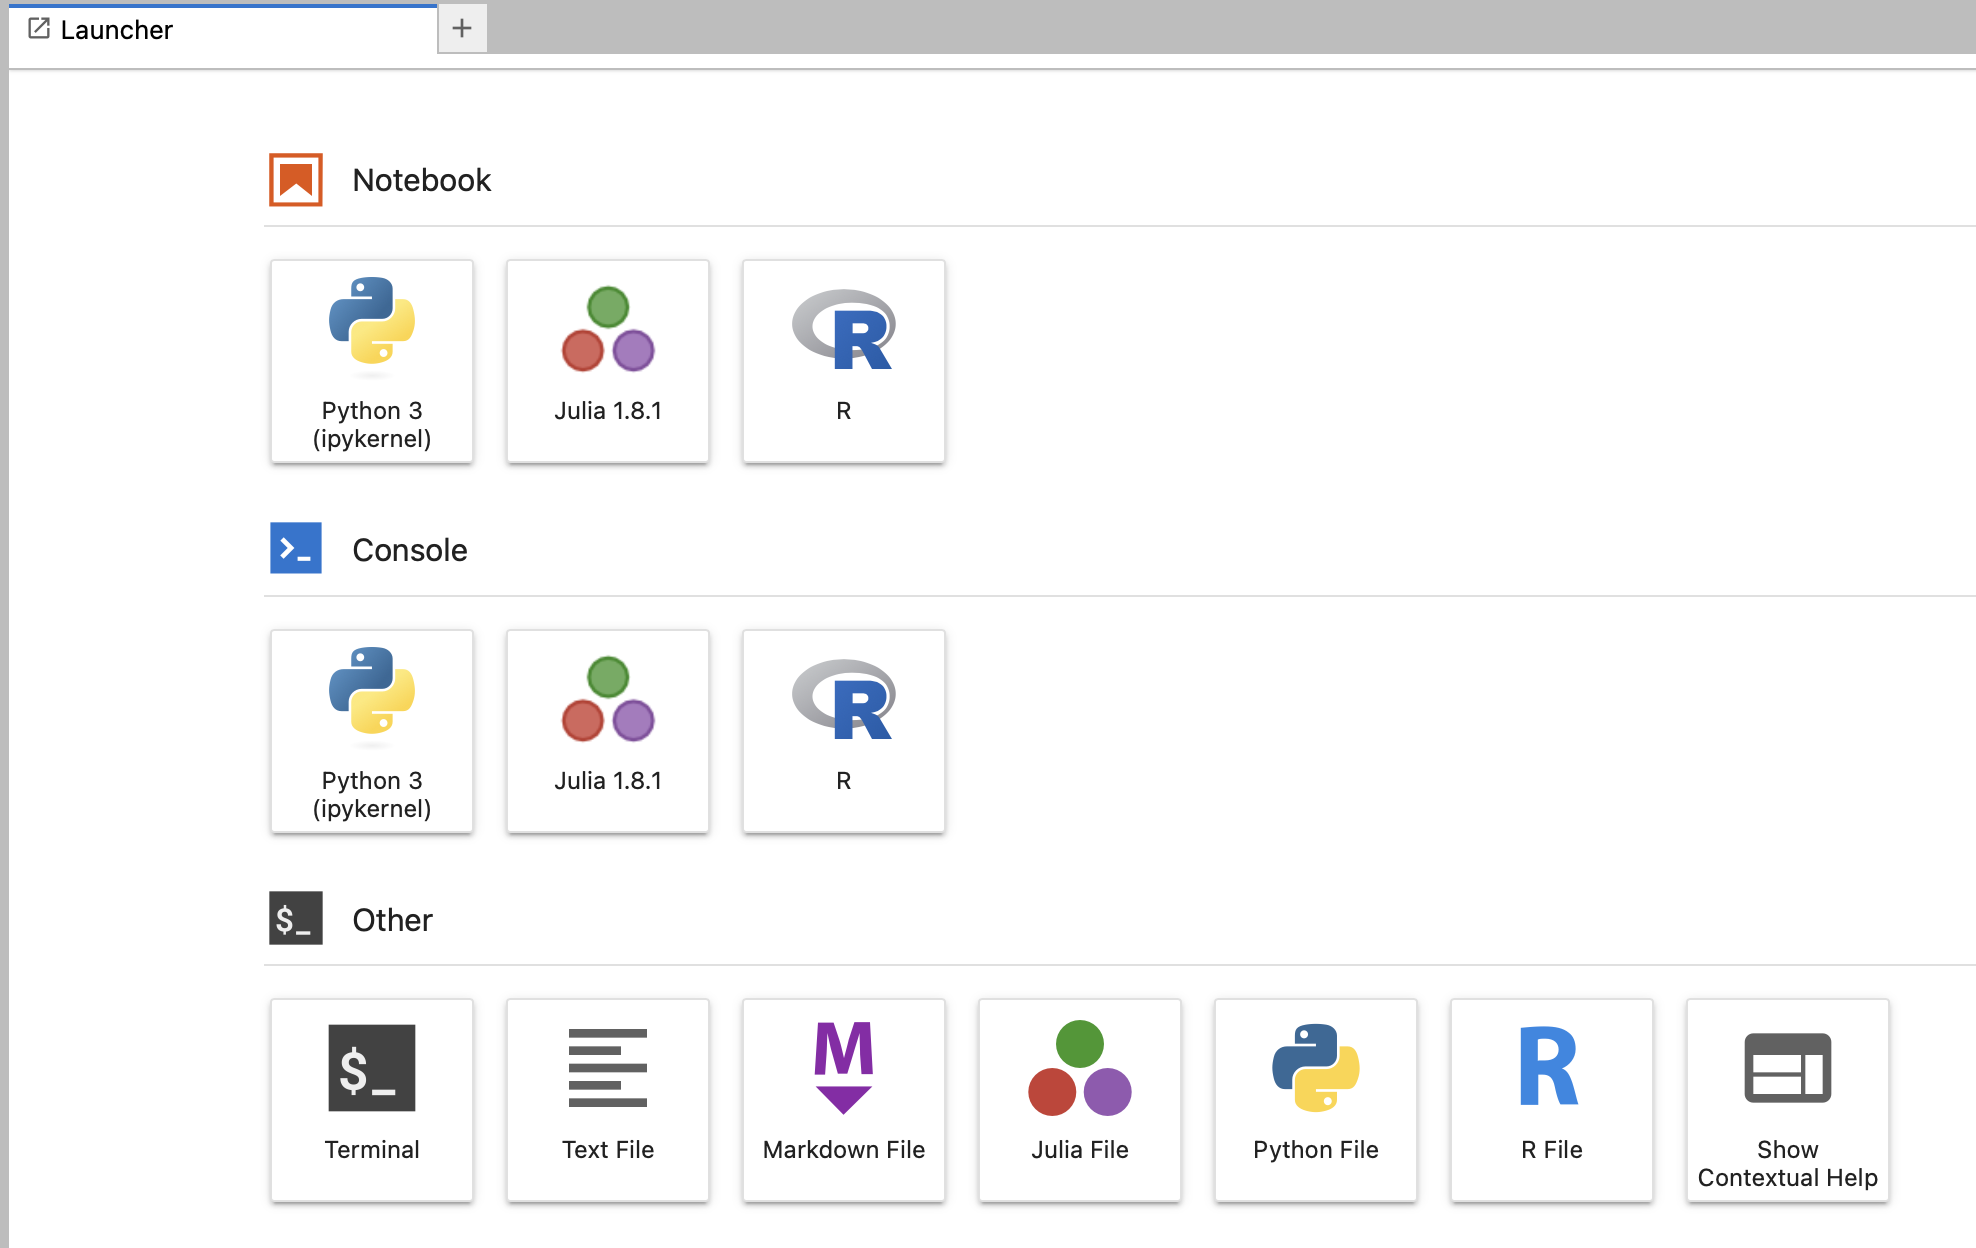
To start a terminal, click the 'Terminal' button which should give you something like this:

Opening a terminal directly
Otherwise, if you've followed the environment setup instructions you should already have a terminal program to use - either built-in, or using the Ubuntu for Windows system on Windows.
Checking it works
Either way you should see something like this:
<username>@<computer name> ~ % ▮
Note
What you see there is the command prompt. It will probably show your username, the name of the computer you're
using, and also the path to the directory you are currently in. (This might be just ~, meaning your home directory.)
And then it will end with a $ or % character to indicate the prompt itself.
This command-line prompt can look a bit different depending on where you are running from. In this tutorial we will generally
just write a dollar % to indicate the prompt.
To check things are working, let's try out a simple command - type echo "Hello, $USER!"into the terminal and press
Enter. You should see something like:
% echo "Hello, $USER!"
Hello, gav!
If this is your first UNIX command - congratulations!
Note
Remember that in the above - the % indicates the command prompt. You shouldn't type the % but just type the command and then press <Enter> to make it run.
Once you have this working, move on to the command-line basics.